The raw Cherry from the store
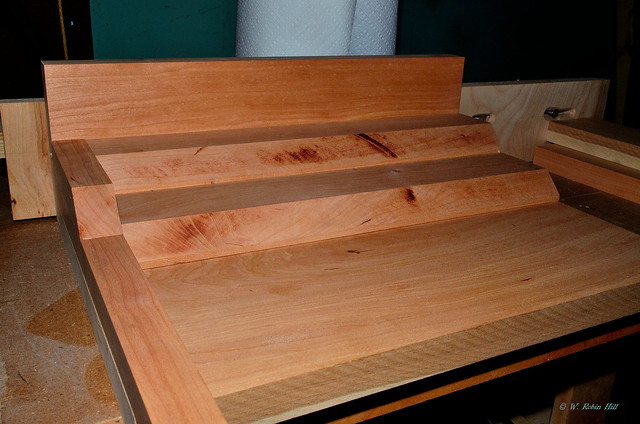
 Rough cut after joining and planning.
 Test layout, all pieces in place. Now for some drilling, lots of sanding and glue.
 Drilled, sanded and clamped
 The final product including brass rods inserted for thread, and matting for the bottoms of the holes.
 All equipment added (room for more) and fully functional.
 The back row holes have several 3" holes and the rest are 2". The others are 1.5, 1.25, 1 and 5/8". My favorite touches are the angled holes for the bodkins on the right and the slot for the razor blade. All in all I'm pleased with the layout, it is a joy to work with.
Sweeeeet
ReplyDelete